Emboss the sublime swirls onto heavy cardstock. Lightly spritz the cardstock with a fine mister bottle. Make sure that you use the cirrect stack for your die-cutting machine, because 3D folders are thicker than other embossing folders.
Use Pixie powders and water to add colour. I randomly sprinkled sun yellow, burnt orange and golden mint powders onto the embossed paper and spritzed liberally with water to make the colours flow.
Allow the paper to dry completely and cut to size (13,5cm square). Use gold and green waxes to highlight some of the raised areas on the embossed cardstock.
Adhere the embossed piece to a red cardstock mat of 14cm square. Adhere this to a 14,5cm square card base.
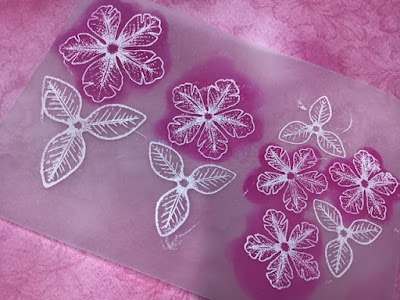
Die-cut poinsettias and leaves from heavy flower-making paper. Colour the flowers with Stazon pigment ink passion red or Archival carnation red. You need to use a permanent ink.

Soak the flowers in water for about 20 seconds. remove from water and pat dry between two layers of paper towel or serviette.

Use groove tools to pull grooves into petals. Work on a soft flower-shaping mat and pull from the outer edes of the petals inwards and work on the back of the flowers.
Turn flowers over and press down in the centre with a ball tool.
Sparingly rub some gold paste onto the ridges in the centres of petals. Do not overdo this.

Glue two layers of the same size of flowers onto each other.

Add flower pearls (or beads) to the centres of flowers, using a clear-drying glue.
Colour leaves with two shades of green. Add some sparkle paste.
Add layers of circles to the centre of the card base, and arrange flowers and leaves to complete the card. You may stamp a small sentiment on the circles.
I hope you enjoyed this tutorial and that you will take a few seconds to leave me a comment.
Visit our online store to buy the products required for this project www.purplemagnolia.co.za
Happy weekend crafting.
Marie Smith


